Copyright Anne Dawson 2025
Updated: Monday 18th November 2024, 12:35 PT
Skip to run instructions (assumes FileZilla installed)
Click on Activities
in the top left hand corner of the desktop
then search for Ubuntu Software.
Ubuntu Software is then used to
find and install FileZilla.

Alternatively,
run this command in a terminal (ctrl+alt+T):

$sudo apt-get install filezilla
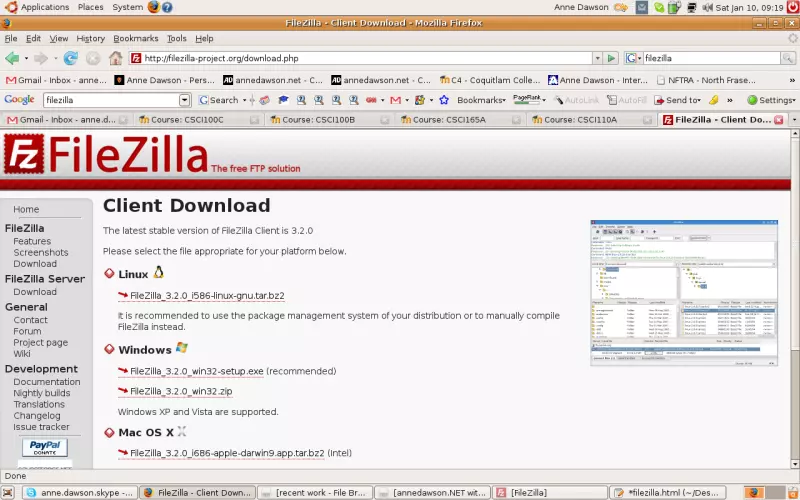
Go to https://filezilla-project.org/download.php

After the installation is completed,
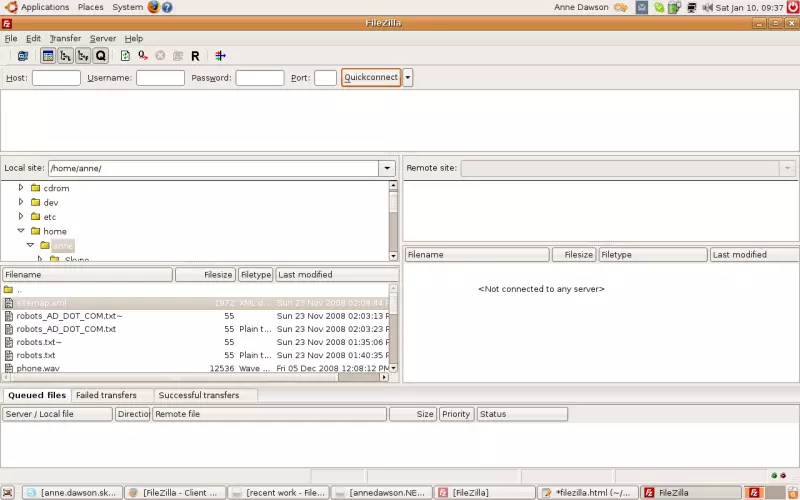
you can then start up FileZilla:

Linux: Activities -> FileZilla

Windows: Start -> Programs -> FileZilla

The following screen shots
were taken from
a Ubuntu Linux installation of FileZilla.
Similar screens will be seen
on a Windows or Mac machine.
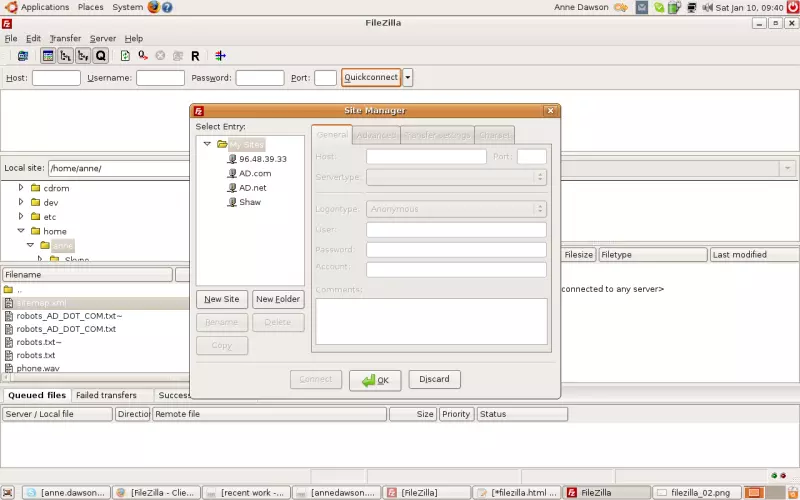
Select the menu:

File -> Site Manager

then click on the "New Site" button.
Click in the "Rename" button and rename the site as your student username
(supplied to you by the instructor in class), e.g. student1, student2 etc.
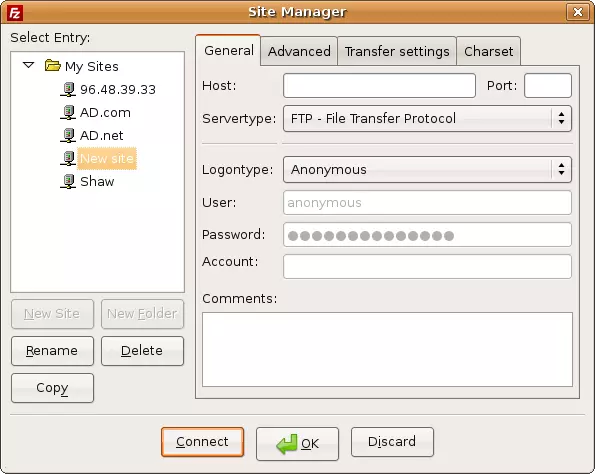
Fill in the settings as shown on the following screen,
but substitute the IP and username as supplied to you by the instructor.
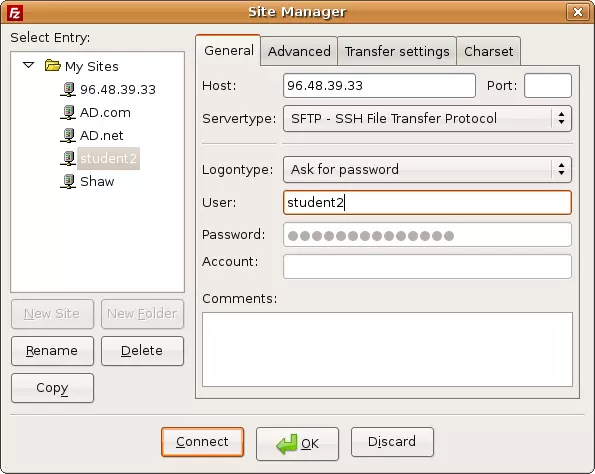
Click on the "OK" button to save your changes.
Select the menu:

File -> Site Manager

then double click on your new site "student2"

or do a single click and then click on the "Connect" button.
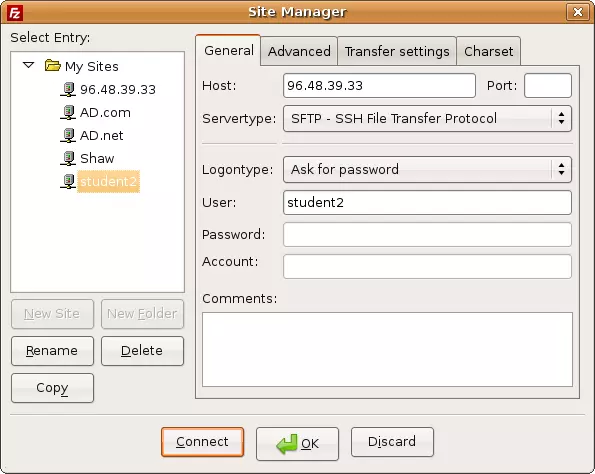
Type in your password...


Upload your files to the server by following the following instructions...


Follow these instructions to upload files to the server:


1.  Start FileZilla

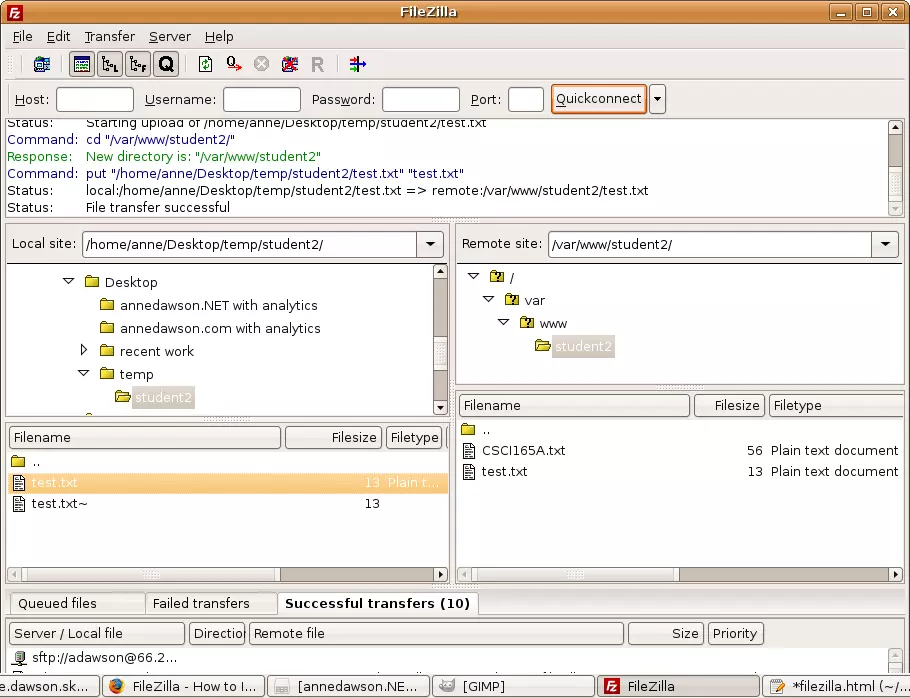
When you successfully connect to the remote site (File -> Site Manager -> student2),

you're automatically placed into your own folder on the remote site,

in this example:


/var/www/student2
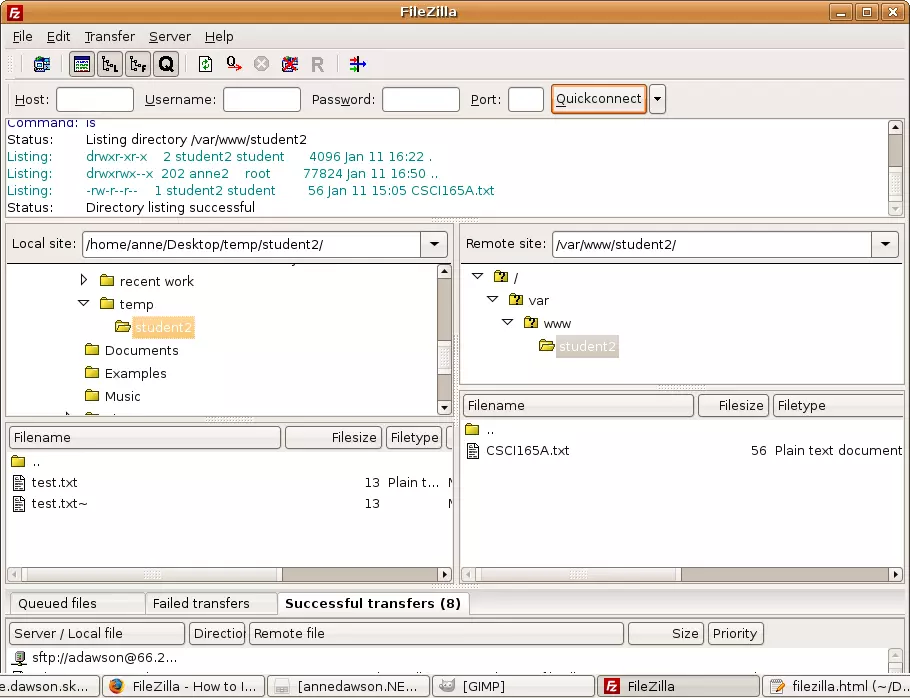
Locate the file you want to transfer by clicking in the

"Local site:" part of the above screen...


then click on the filename and drag the file to the remote folder...
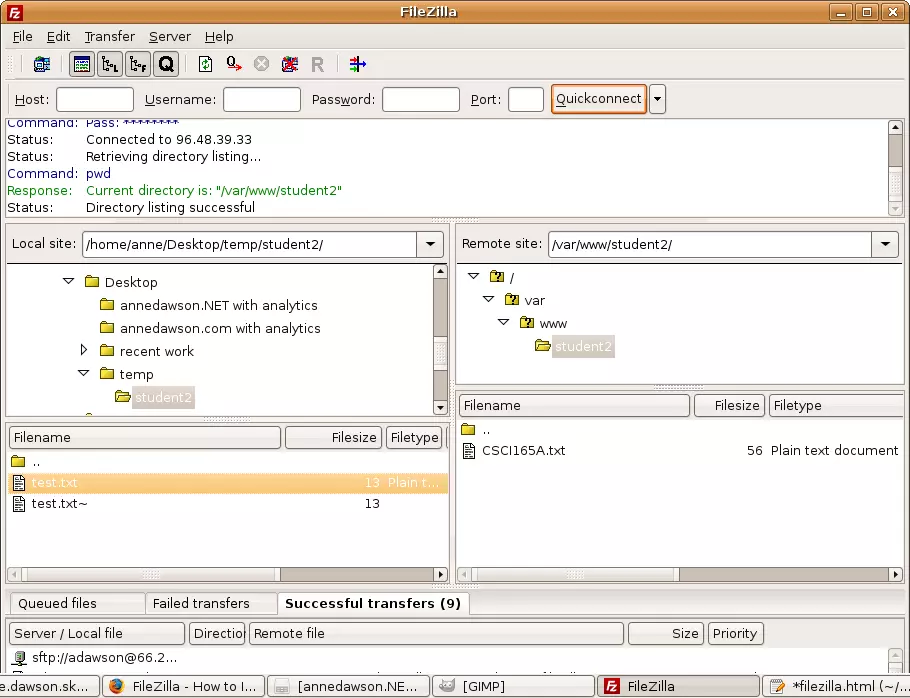
Notice you are only allowed to write files to your own folder on the remote site,
and you cannot navigate to any other folder on the remote site.
Search all coding topics: Search
www.annedawson.net